This post contains steps to create a new Kentico module using a custom UI template and custom UI web part to display a sample report. It will allow you to grant access to single reports by simply configuring roles and permissions. No coding required!
Step 1: Create the module
The first thing that we are going to do is creating the new module. For more info on module development check out the
documentation.
Module display name: My cool report module
Don't forget to define the module
read permissions (with display in matrix checked) and grant desired roles (e.g. content editor in Dancing Goat) access to the module. If you have the UI personalization switched on (within Security & Membership settings) then please ensure that you enable the UI elements for the roles.
Check out my post on
working with roles and permissions for more info.
Step 2: Build the user interface
Create a new user interface within a desired section (e.g. Configuration).
Display name: My cool report module
Caption: My cool report module
Element icon type: Class
Element icon CSS class: icon-app-marketing-reports
Page template: Vertical tabs
Add a child element:
Display name: Sample report
Caption: Sample report
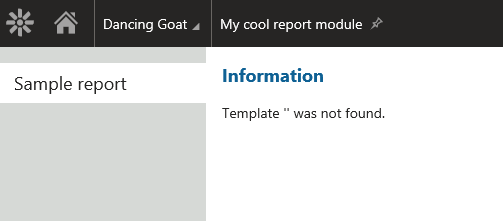
We will leave the rest empty and ensure that the module works as expected first :) If you log in with a user (e.g. Andy) that has the configured role you should see the module and inform you that the Template "" was not found:
Step 3: Create a custom UI page template
What I would like to do know is create a custom UI page template to be able to have full control over the content of the module. Go to the page template application and within the UI templates section create a optional category and new template:
Template display name: My cool report UI template
Switch to the
General tab and change the
Template type to "UI page".
In the
Layout tab add
the following markup:
<div class="PageContent"><cms:CMSWebPartZone ZoneID="zContent" runat="server" /></div>
We are now ready to add web parts to the template in the
Design tab. But before we do that let's configure a web part that can display a selectable report.
Step 4: Configure the UI report web part
Fire up the web parts application and within the UI Webparts section create a optional category and new web part:
Web part: Inherit from an existing
Display name: Report (UI)
Inherit from: Report
After saving the web part change it's
Type to UI.
Go back to the Page templates section and add the Report (UI) web part to the "My cool report UI template" in the
Design tab.
Now we could select the "Sample report" in the report name selector but we can make it more flexible using configurable UI template properties.
For additional info on
how to create custom reports in Kentico I highly recommend the post by Kentico MVP Laura Frese.
Optional step 5: Define UI template properties
Select the "My cool report UI template" and open the
Properties tab. Create a new field:
Field name: Report
Field caption: Report
Form control: Report selector with parameters
Go back to the
Design tab and configure the Report (UI) web part. Click on the arrow to edit the value of the Report name and add the following macro condition:

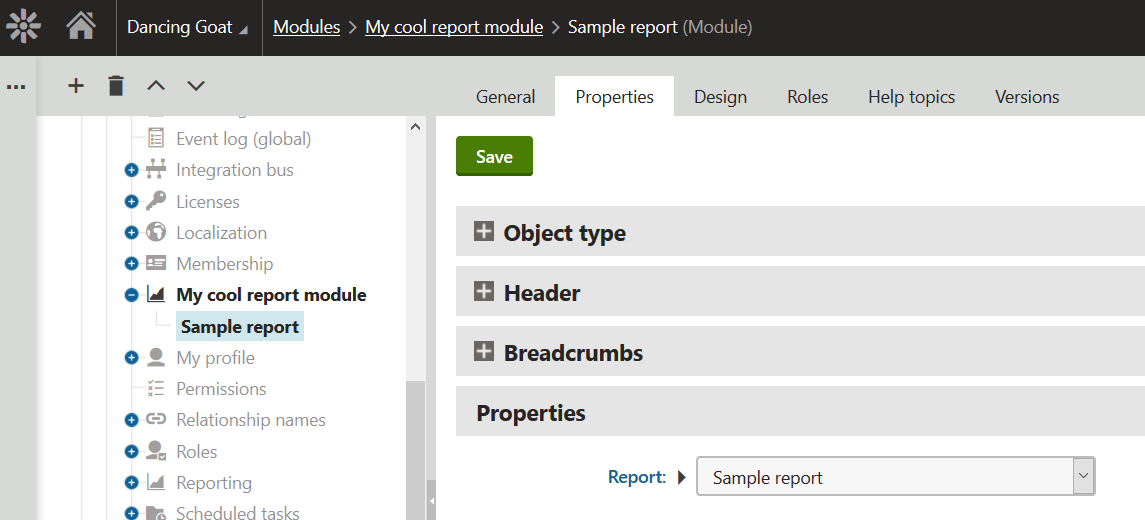
This will automatically pass the selected report from the template properties into the web part. Don't forget to select the report in the sample report user interface properties:
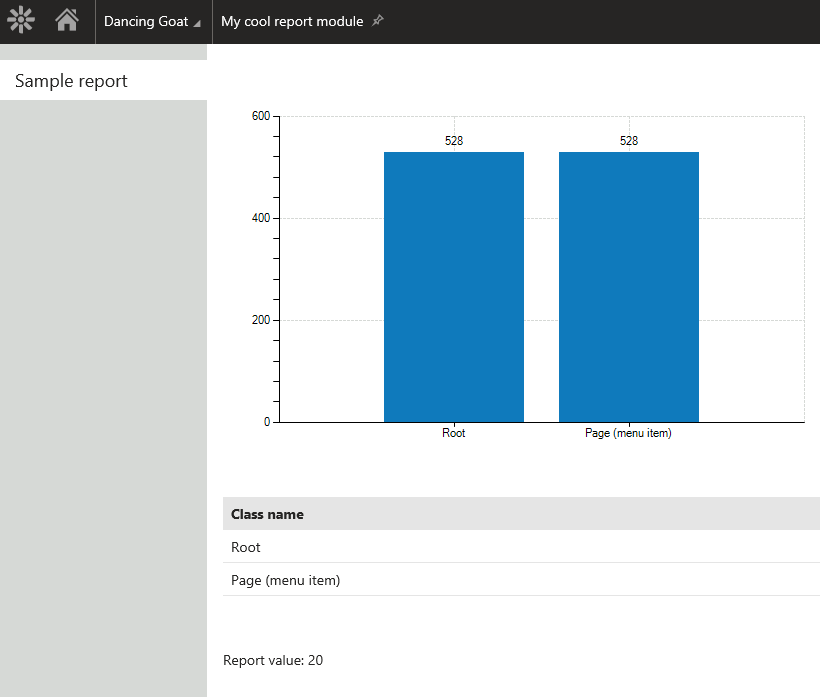
View the result
If you have followed all the above steps carefully then you should have a new cool report module available. Enjoy!