With Kentico 9.0 coming out later this year, one of the big new features regarding deployment will be the out-of-the-box support for continuous integration. This post will focus on one of the two typical deployment options that you currently can use in your existing Kentico projects: Export/Import.
Introduction
The goal of this post is not to teach you how you can export and import objects and websites, but highlight things I believe are useful and will help you get the most out of this cool feature. If you are new to Export/Import then I suggest you to read the Kentico documentation.
For more information on continuous integration I strongly recommend the blog post from Andy Thompson (Kentico MVP)
When do you pick Export/Import as deployment model?
In my opinion this is completely up to you. But to help you make that choice, let me break down the pros and cons for you.
More control over what actually gets released
Creating export packages is super simple in Kentico and is almost available throughout the whole use interface. You can instruct developers to create export packages once they finish development of a feature, resulting in a zip file containing all the information (more on this later) to deploy to the next environment.
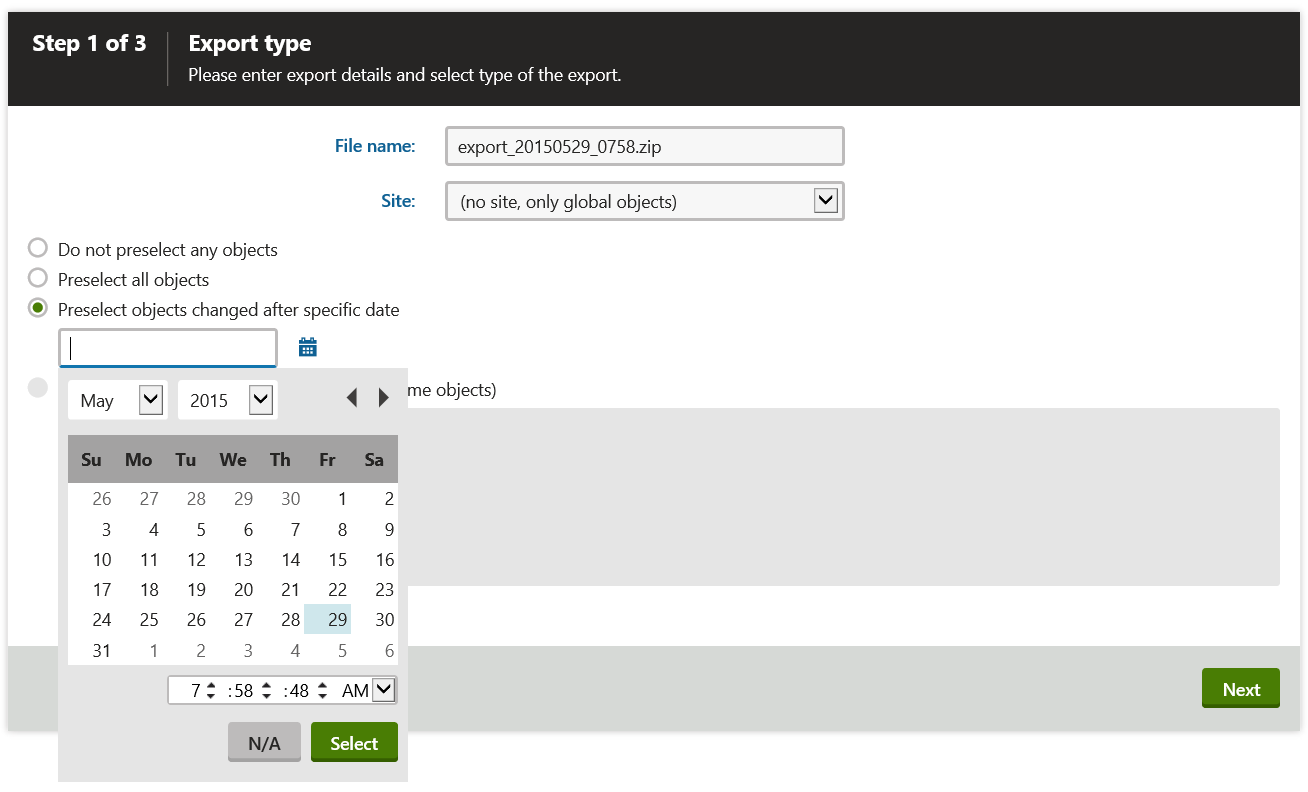
Tip: You can create export packages of multiple features in one go using the site export option

In the site export you can select all objects or objects that have been modified since a specific date. The caveat about the specific date option is that it only picks objects that are versioned by Kentico (too bad for widgets).
Allows you to apply version control
One of the benefits of having export packages (zip files) is that you can choose to store them in version control. This is slightly different from staging where the staging tasks are fluent, meaning that once you hit the stage button, they will be synchronized to the target environment and the staging task simply put is gone.
Future tip: I will be posting more info and tips on staging in the next blog ;)
Supports incremental deployment
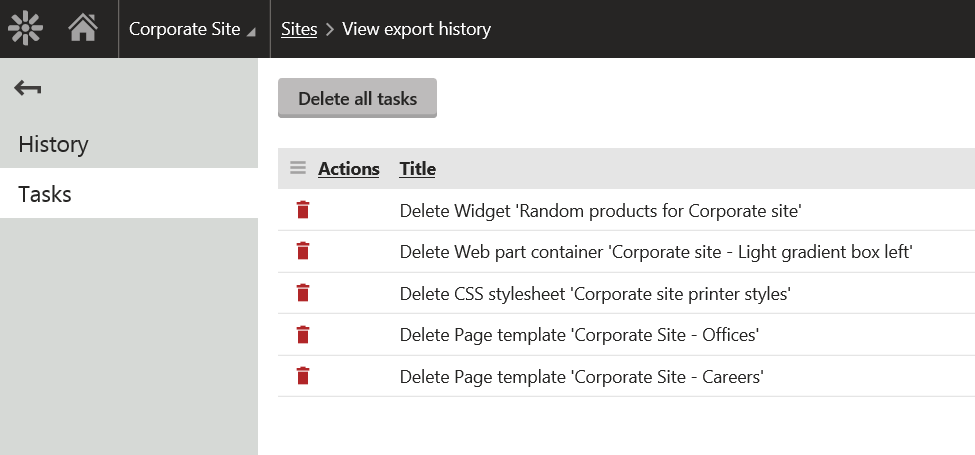
Big advantage over staging is that Export/Import supports a form of incremental deployment via so called “delete tasks”. If you enable the logging of export tasks, deletion of an object will result in a corresponding task that will be part of the sites exports package.
In my experience these delete tasks can sometimes result in unexpected (unwanted) behavior. Therefor I strongly recommend you to get familiar with export tasks, as the import task is turned on by default (recommended by Kentico) when importing a site or objects.
Tip: Always check the list of tasks (available via view export tasks in the sites module)
Manual process (time consuming and error prone)
By far the biggest disadvantage of using Export/Import is the fact that requires manual work to select the objects that needs to be packaged for release. Because of this manual approach it also introduces potential errors (e.g. forget to include related objects). We have found a nice way to work around it by automatically create export packages of the site on a daily basis.
Tip: Kentico Support posted a knowledge base article on automatically scheduling the creation of site export packages. Don’t be afraid to create export packages via the API.
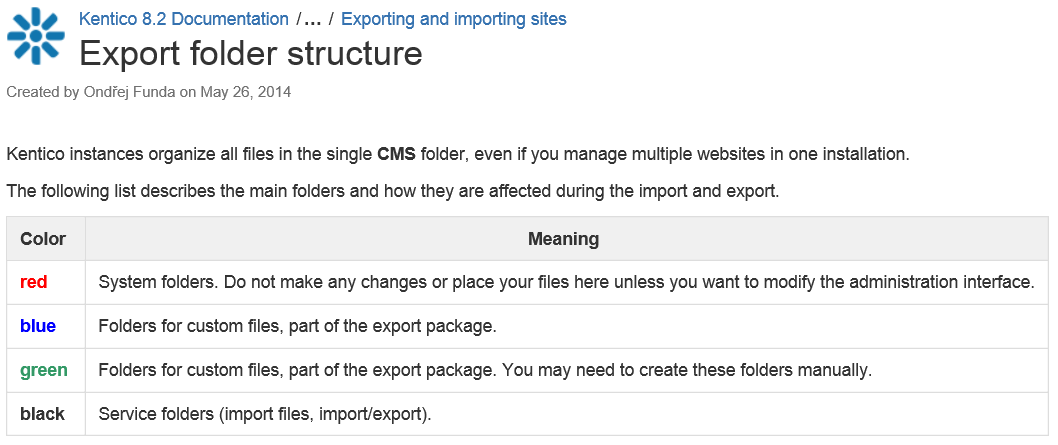
Not all files are included in the export package
There are a lot of folders in the Kentico solution that you should use to place your files in. The files in these folders will be automatically picked up when the export package is created.
Tip: Get familiar with the export folder structure
Up next
While I hardly can’t wait to use the continuous integration feature of Kentico 9.0, there is still need for a deployment process that gets the job done. Export/Import is one of my preferred methods as we have more control over the release. In my next blog post I will share my view on Kentico Staging. See you soon!